To create successful art you must see things not as they are, but as they could be.
Monday, July 14, 2014
For All You Motorcycle Mama's!
Wednesday, April 20, 2011
Celebrate Earth Day
Monday, March 21, 2011
Altered Altoid Tins
Saturday, March 12, 2011
Easy to Use Resin
Sunday, March 6, 2011
Too Expensive? I Think Not!
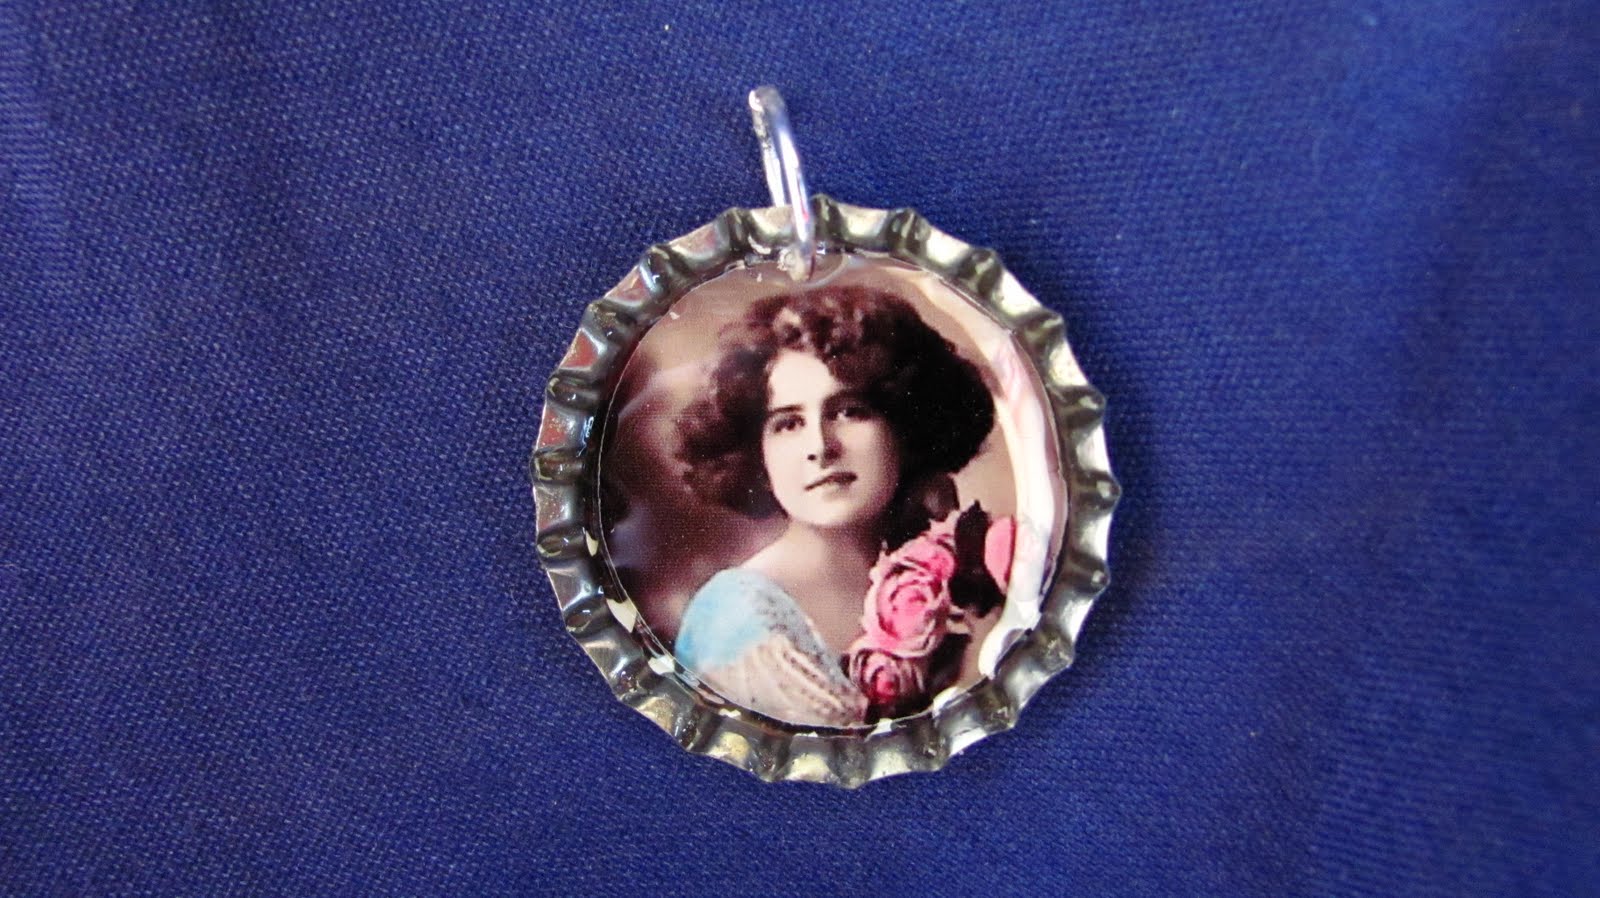
It's funny how some individuals have no clue about the work and effort that goes into handmade items. I was selling my altered art pieces at a show this past week, and among my things I had a few bottle cap magnets and pendants. I was taken by complete surprise when an older woman remarked to me "You're selling these for $3? You get the bottle caps for free!" I quickly responded that: The caps are not free. I have to purchase them new and it takes time and hard work to create a piece of art! Maybe it was her age, maybe she didn't like my work, or maybe she just thought I was taking advantage of people. She said nothing and left.
That started me thinking about just how much time and effort go into any handmade item. I've broken the creative process down into four categories: Development, Implementation, Assessment and Marketing.
Development: the planning stage.
- What am I going to do? Is there a theme? What is the design?
- What supplies do I need? Where can I buy them? How much will they cost?
- What will I do with the finished product? Do I keep it, sell it, or give it away?
- How long will it take me to complete?
Implementation: getting to work
- Purchase all necessary supplies.
- Gather together the specific items needed.
- Experiment with various techniques to find the right one for your project.
- Assemble your creation.
- Re-assemble your creation when the first one isn't to your liking!
- Fine tune and clean up your finished piece.
- and sometimes - Start all over again because it's all wrong!!
Assessment: analyzing your handiwork
- Did your work come out as expected?
- Did it take too long?
- Are you happy with it? Would you make it again?
- Is it good enough to sell or give away? If yes, then proceed to Marketing. If no, keep it for yourself!
Marketing: selling your handiwork
- Will I sell online, in a store, or at a show?
- How much can I sell it for? How much would I pay for a similar item?
- When calculating pricing, don't forget the cost of supplies, cost of marketing, and payment for your time.
Okay - back to my bottle cap artwork. Now that I've thought about this whole thing, I think I better raise my prices! $3.00 seems like a bargain to me!
Tuesday, February 22, 2011
Kitchen Magnets from Vintage Findings
Thursday, February 17, 2011
A Vintage Flair Card Studio Blog

Monday, February 14, 2011
Simply Hollywood
Sunday, February 13, 2011
Using Vintage Photos for Journals


Monday, November 15, 2010
Punches for Backgrounds and Frames
Tuesday, November 2, 2010
Flickr Group for Cardmakers
Sunday, October 31, 2010
Handmade Cards vs. Mass Market Pricing
Women Who Dare
Wednesday, October 27, 2010
A Vintage Flair Card Studio
After a 2 year hiatus from cardmaking, I am pleased to announce that I have just opened a new card shop on ArtFire. I'm very excited about this new venture and plan on adding new cards on a weekly basis. I have also started a FaceBook page for shop updates and new card additions. Please stop by, "like" me, and add me as a favorite.If you're unfamiliar with my work or would like to see some of my previous card art, visit my gallery on Flickr.
Friday, October 22, 2010
Retro Birthday Card for Dad
Tuesday, October 19, 2010
Adhesives
My mainstay is some type of tape runner adhesive. There are lots of them available and it's tempting to buy the least expensive you see. WAIT! Check the length of that tape! The product that costs most, just might be the most economical. I usually use Therm O Web's Memory Tape Runner. It's dependable, the tape doesn't tear or stick to the applicator, it has good adhesion, comes in permanent or repositionable, and is acid free. I like the tape runners primarily for their ease of use.
Liquid Glue Pen. I like these to adhere small paper pieces like diecut letters. They come in different sized tips for various applications. I like ZIG 2 Way Glue.
Glue Dots. These are great for adhering small embellishments. I have found, however, that in the Vegas heat, they often get soft and let your attachment slide around a little.
Glue Stick. I always have these on hand, but don't use them too often. It's usually a back-up when I run out of tape runner! Make sure you get a brand name and apply enough glue, but not too much to lump up.
And finally - the cream of the crop - Xyron! I have 3 different size sticker makers as well as the Cheetah. I love using them, but the adhesive is quite expensive. I always buy it on sale or with a 40% off coupon from the craft stores. By far my favorite is the tiny sticker maker - runs about $7 at a discount and refills about $4. The Xyrons are great for anything you can feed through - paper, ribbon, magnetic sheets, fabric, etc.
So there you have it. Undoubtably, everyone has their own favorites. Some may even hate my choices. So if you see something interesting that you think you might like, try it! There's lots of good choices.
Monday, October 18, 2010
Make Your Own Envelopes
Envelope Dimensions Card Dimensions
A-2 4 3/8" x 5 3/4" 4 1/4" x 5 1/2"
A-6 4 3/4" x 6 1/2" 4 1/2" x 6 1/4"
A-7 5 1/4" x 7 1/4" 5" x 6 7/8 "
If you want to make your own envelopes, it's easy enough - it just takes time. Take an envelope the size you want and carefully open it up to form a template. Trace it onto the paper you want to use, score, fold and glue. DONE!
You can also buy templates for various size envelopes. Do a web search for envelope templates and you'll find anything you need.
Now you'll have to add adhesive so the envelopes can be sealed. You have a couple of choices here. You can use a strip adhesive where you pull off a strip of paper to expose the glue, or you can use a remoistenable envelope glue that you spread on, let dry, and then lick it as a pre-made envelope.
Don't be limited by using plain envelopes, either. If you use a scrapbook paper just be sure to leave a space for writing an address, or use a mailing label.
Sunday, September 12, 2010
Creating with Discarded Vintage Books

A nice addition to these notebooks is the use of entire pages from the original books randomly inserted between blank pages. They may be more images or interesting quotes from the story line.
Tuesday, August 3, 2010
Recycle Your Old Books
I loved recycling old books into journals. I use the Zutter Bind It All to punch and bind 50 to 100 blank pages between the front and back covers of unwanted books. I also use vintage books that are in bad condition, but have great graphics on the cover. These books could also be put together using standard binding techniques, or even by punching holes and tieing with twine or ribbon.