
I'll be listing some shortly on Zibbet.


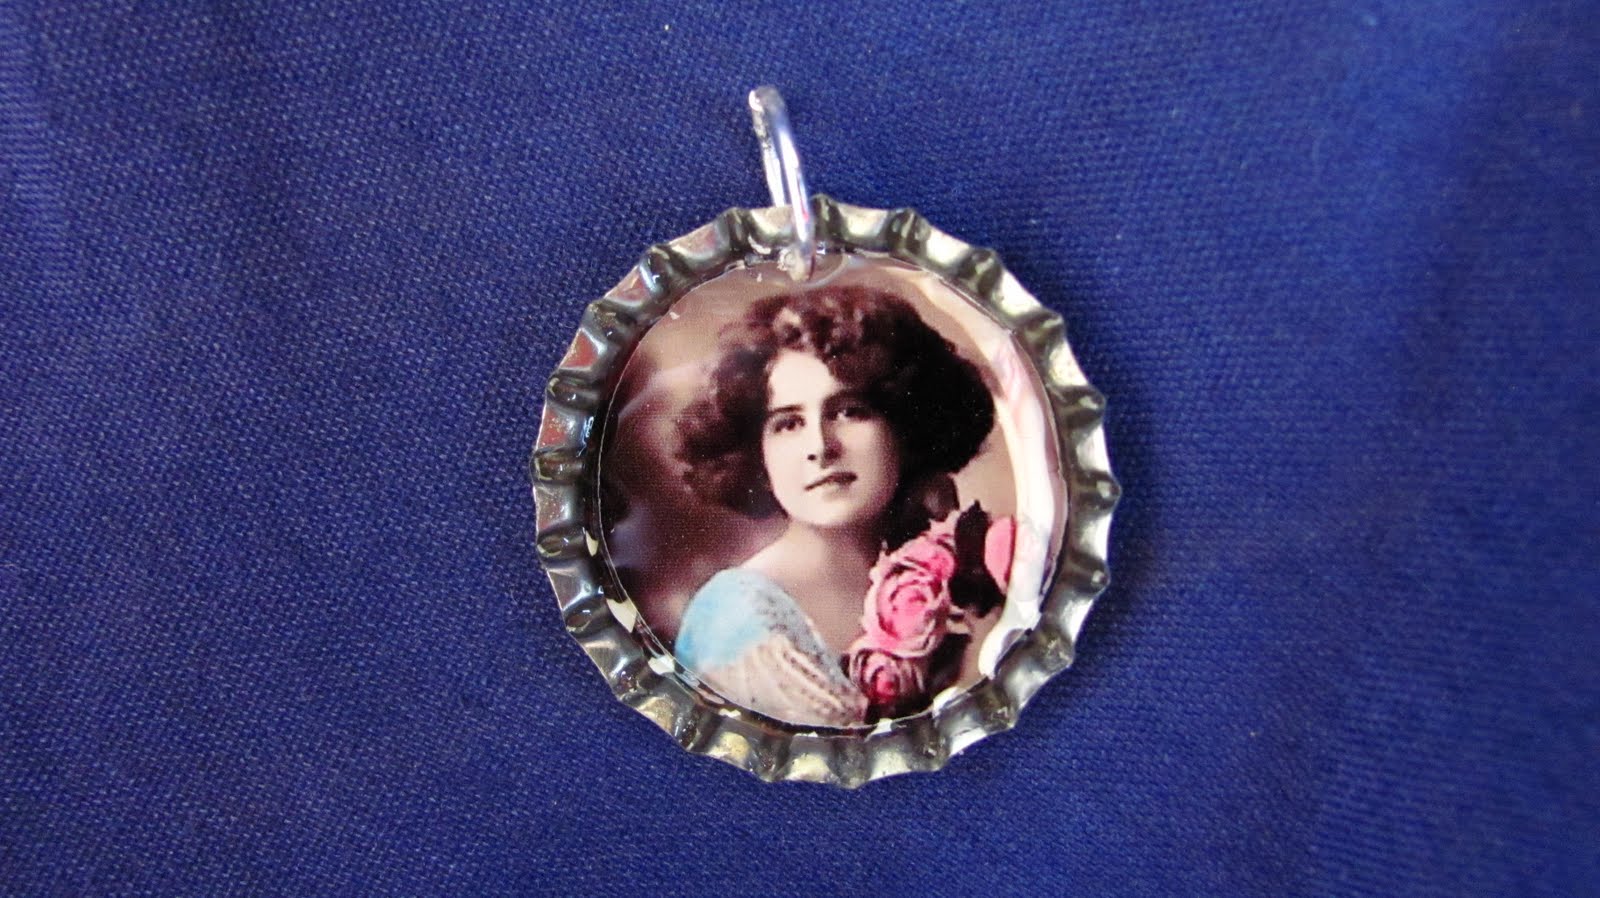
It's funny how some individuals have no clue about the work and effort that goes into handmade items. I was selling my altered art pieces at a show this past week, and among my things I had a few bottle cap magnets and pendants. I was taken by complete surprise when an older woman remarked to me "You're selling these for $3? You get the bottle caps for free!" I quickly responded that: The caps are not free. I have to purchase them new and it takes time and hard work to create a piece of art! Maybe it was her age, maybe she didn't like my work, or maybe she just thought I was taking advantage of people. She said nothing and left.
That started me thinking about just how much time and effort go into any handmade item. I've broken the creative process down into four categories: Development, Implementation, Assessment and Marketing.
Development: the planning stage.
Implementation: getting to work
Assessment: analyzing your handiwork
Marketing: selling your handiwork
Okay - back to my bottle cap artwork. Now that I've thought about this whole thing, I think I better raise my prices! $3.00 seems like a bargain to me!


 After a 2 year hiatus from cardmaking, I am pleased to announce that I have just opened a new card shop on ArtFire. I'm very excited about this new venture and plan on adding new cards on a weekly basis. I have also started a FaceBook page for shop updates and new card additions. Please stop by, "like" me, and add me as a favorite.